Snapchat is a great way to share photos and videos with your friends and loved ones. It allows you to take “Snaps” and apply filters and lenses to express yourself to your friends. Most of us think that any feature that changes your appearance in photos are called filters, but that isn’t the case with Snapchat. According to them, filters are frames and artworks you can add to your “Snaps.”
On the other hand, “Lens” is an augmented reality feature that transforms the world around you while you’re taking a picture or a video. These “Lenses” change your videos and selfies with special effects and accessories to make it funny or cool.
Find filters and lenses you can use!
Some of these come with background music and sound effects and add a different tone to your snaps. There are plenty of other filters and lenses you can check out on the app itself.
Note: With each update to the app, you will get new filters to use for selfies, which will replace the old ones. You won’t find the same lenses in Snapchat all the time.
We took the liberty of showing you a step-by-step process on how to try out these effects! Be sure to check out the video before you move on to our tutorial down below.
How to Add Filters on Your Snaps
Before we get started, make sure you have the Snapchat application installed on your Android smartphone. Once installed, follow these steps to begin adding filters to your snaps on Snapchat:
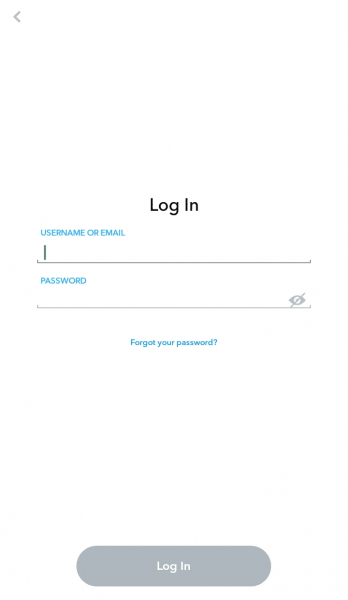
Step 1: Open Your Snapchat App
If this is your first time using the app, tap Login, enter your username or email address and password to continue. After finishing the following instructions, Snapchat will direct you to camera mode.
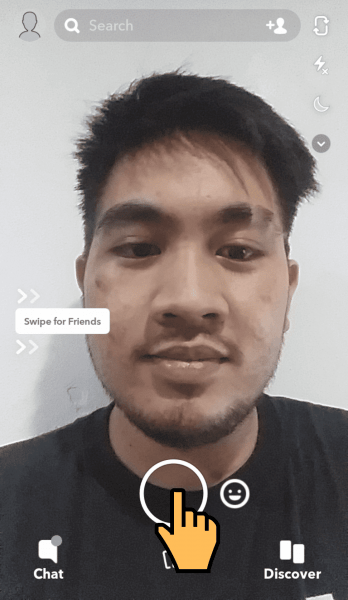
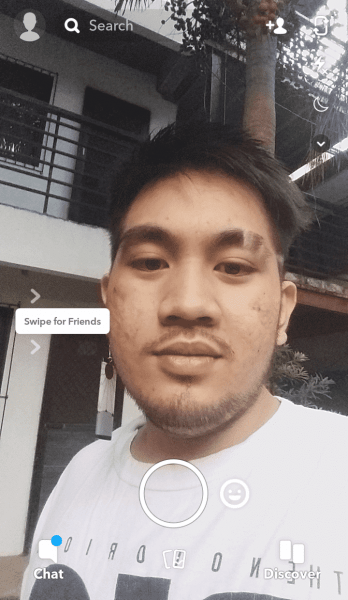
Step 2: Take a Snap
Tap the camera icon on the bottom part of your screen to take a picture. Hold the button if you want to take a video.
Step 3: Apply Filters
Swipe left or right to change the filter. Hold one finger down on the screen to anchor the current filter, to add more effects.
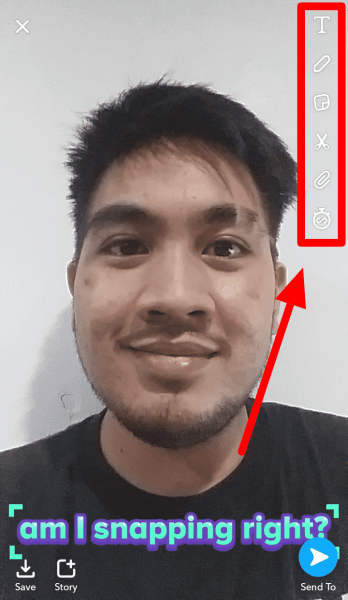
If your location settings are enabled, you will get access to Geofilters. These filters change over time and have something to do with an event or a special occasion, based on the day of the week and your current location. Use the features on the right side of your screen to add stickers, text, and more to your Snap.
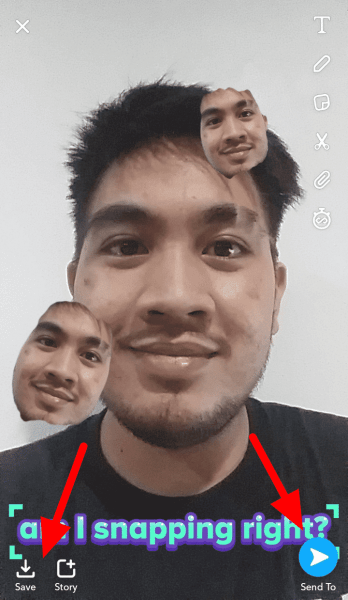
Step 4: Send or Post Your Snap
After taking a Snap and adding filter effects, send it to your friends, post it on Stories, or save it on your device.
Summary: To add filters to your snaps on Snapchat, login and take a snap. Swipe through the filters in the carousel and hold one finger on the screen to add more effects to the current filter. Save or share your snap.
How to Use AR Lenses on Snapchat
While filters are designs and layers that you add on the top of your pictures and videos, Lenses transforms the way you look, and the world around you while taking Snaps.
Note: Lenses on Snapchat are limited, and they change from time to time.
Step 1: Go to Snapchat
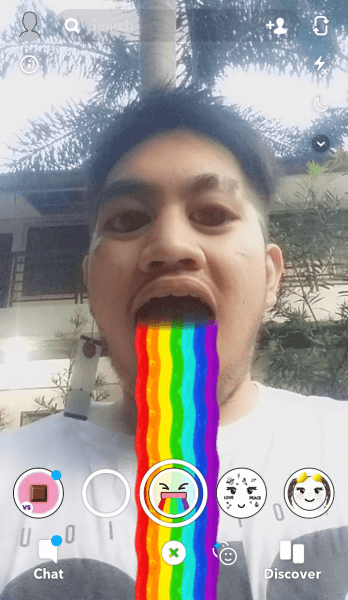
Step 2: Apply AR Lens
Before taking a Snap, tap on the screen to open the carousel. Swipe left or right to cycle through different lenses.
Step 3: Capture the Snap
Tap the camera icon to take a picture or hold it to capture a video. To add more effects on your Snap, swipe left or right to change the filters.

Step 4: Share Your Snap
Once finished, send your Snap to friends or post in on Stories.
Summary: To use AR lens on Snapchat, swipe through the filters before taking a snap and select the AR lens from the carousel. Take a snap and share with your friends.
FAQs
Are filters different from lens in Snapchat?
Yes. Filters are design layers you add on top of a Snap after capturing it. On the other hand, lenses are AR effects that transform the way you look and those around you while you’re taking a Snap.
Why can’t I use all of my Snapchat lenses?
Some lenses don’t work on older phones due to software and hardware limitations. Lenses are available on most Android phones with versions 4.4 and above.
How long does a custom Snapchat filter last?
Custom filters can last between an hour and a month. If you want to use your lenses for more than 30 days, make an Annual filter.
To Sum It All Up
Snapchat filters have improved photo sharing for users. Every update introduces new lenses and filters, and more people get excited to try out the new and already existing ones. Now that you know how to use these special effects, you can easily transform Snaps before sending them to your friends and family. Furthermore, for those who are creative, Snapchat allows them to express themselves even better.